This page is a supplement to the tutorial Extending Smart Home Networks with LoRa. It explains how to move devices installed in The Things Network from one application to another
Up to this point, we’ve been creating a separate TTN application for each end device. That works fine for testing, but it becomes a problem when you want to bring multiple devices into Home Assistant. Home Assistant can only connect to one TTN application via MQTT.
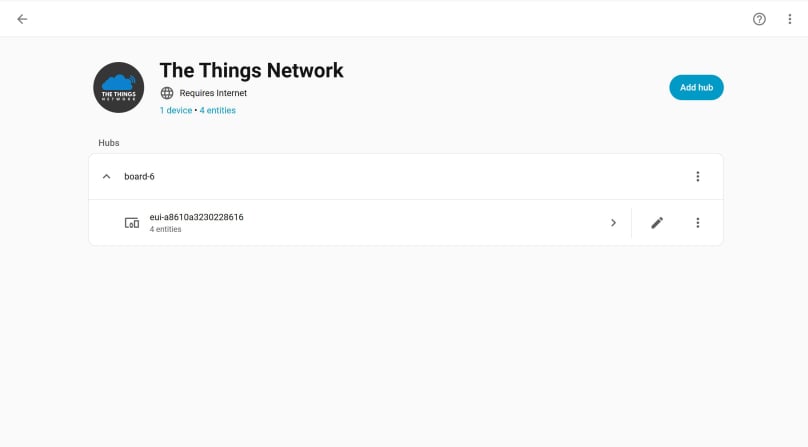
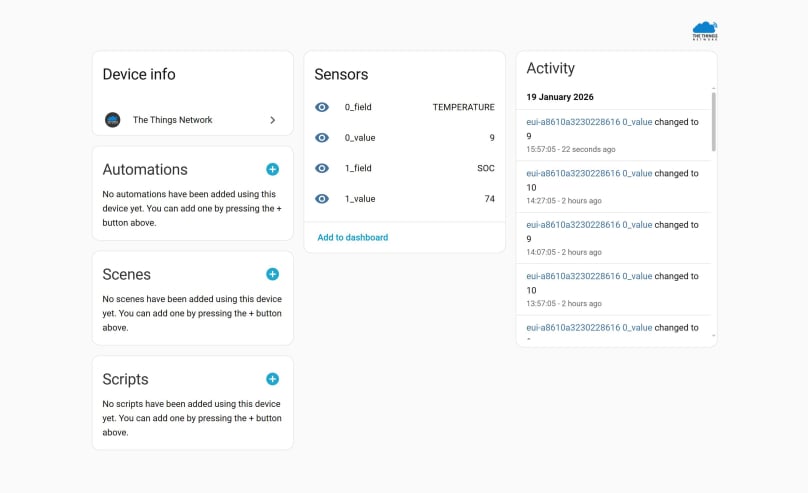
To make multiple devices available in Home Assistant, the solution is simple: add all of your end devices to the same TTN application — the one you’ve linked through MQTT. Once they’re in the same application, Home Assistant can receive uplinks from every device without any extra configuration
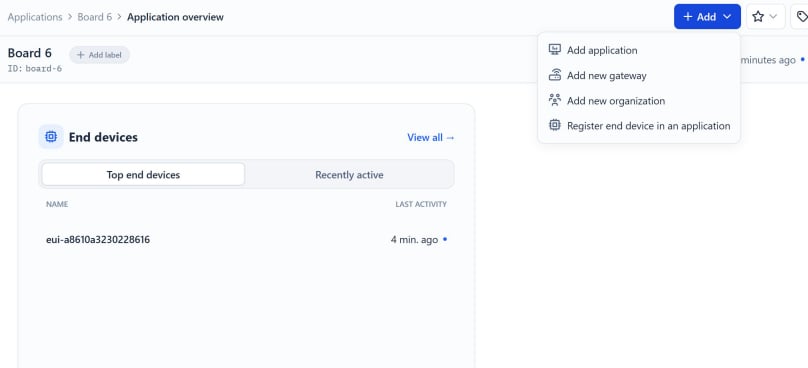
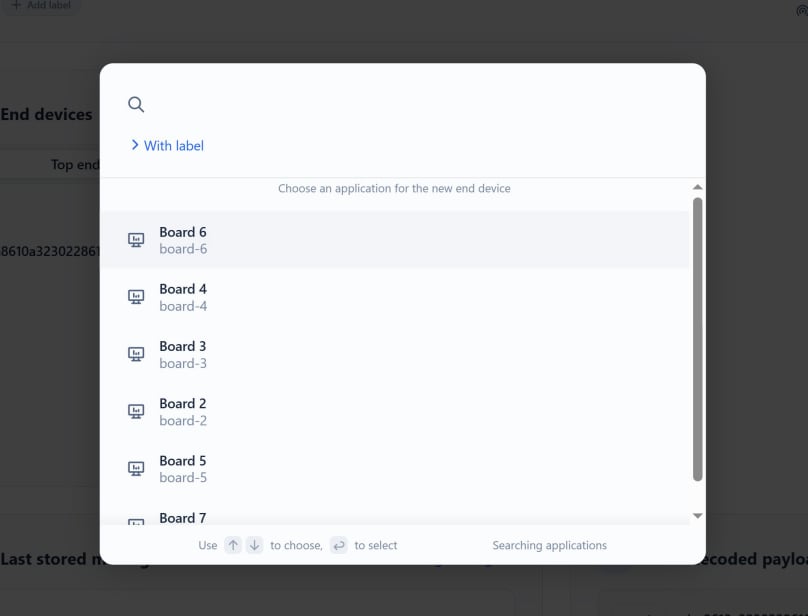
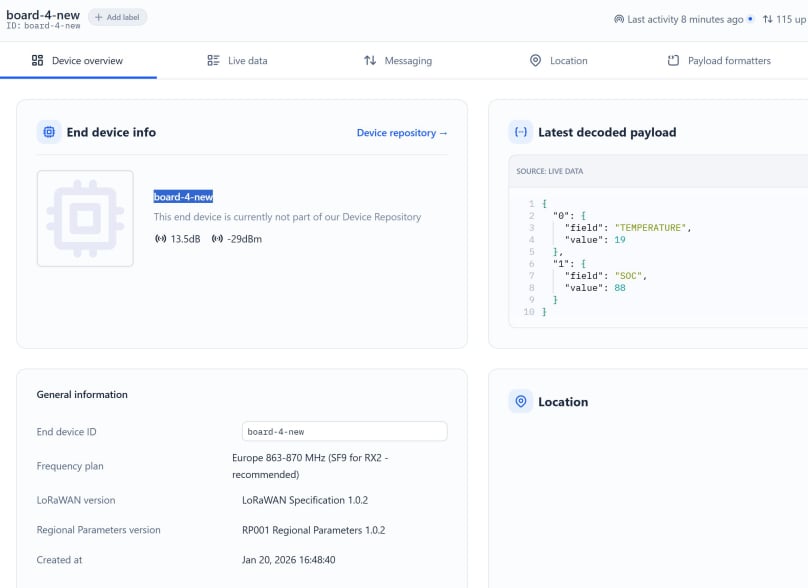
To test this, we’re going to move one of the devices from its current TTN application into the one that’s connected to Home Assistant via MQTT. In this example, we’ll move the Board 4 end device into the Board 6 (MQTT‑connected) application.
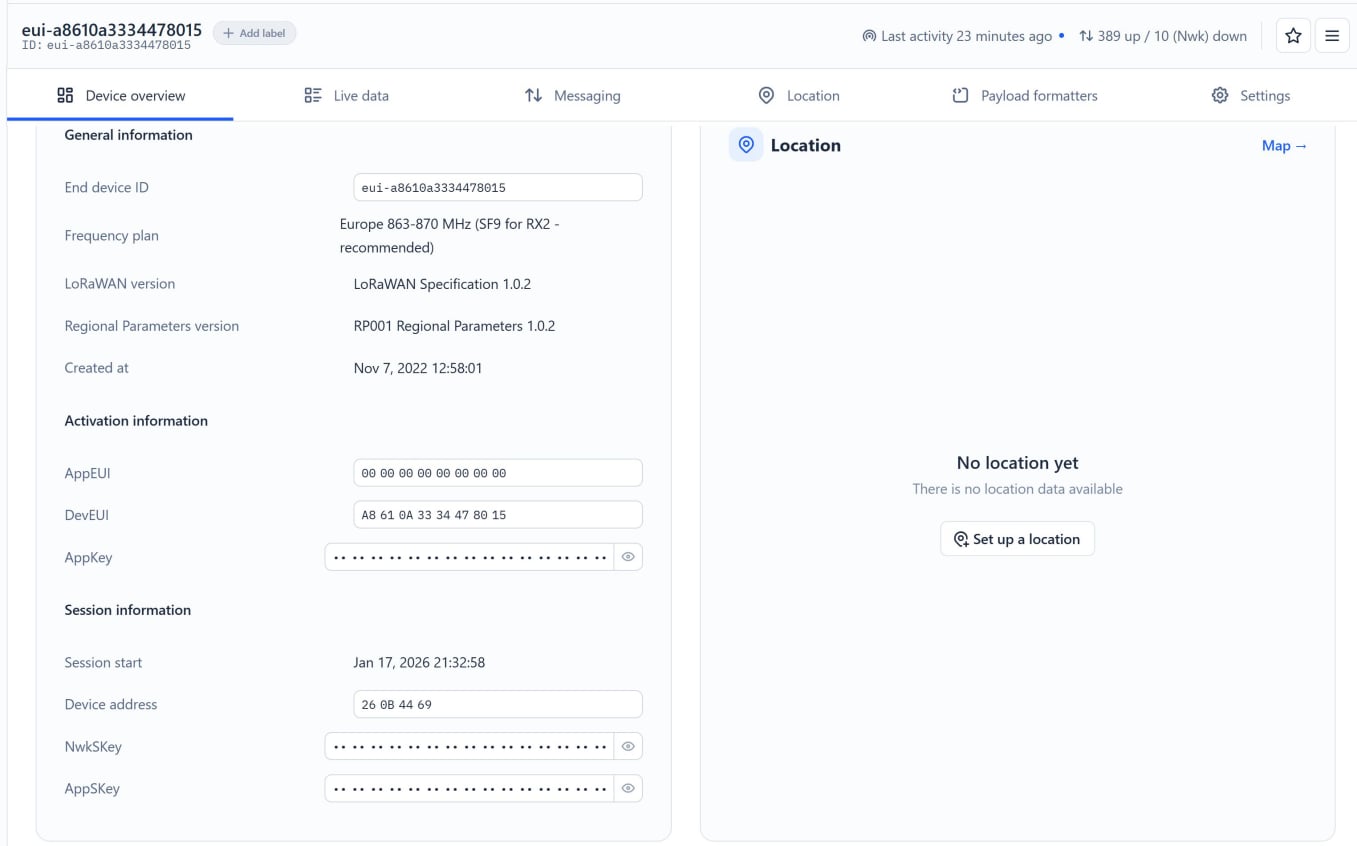
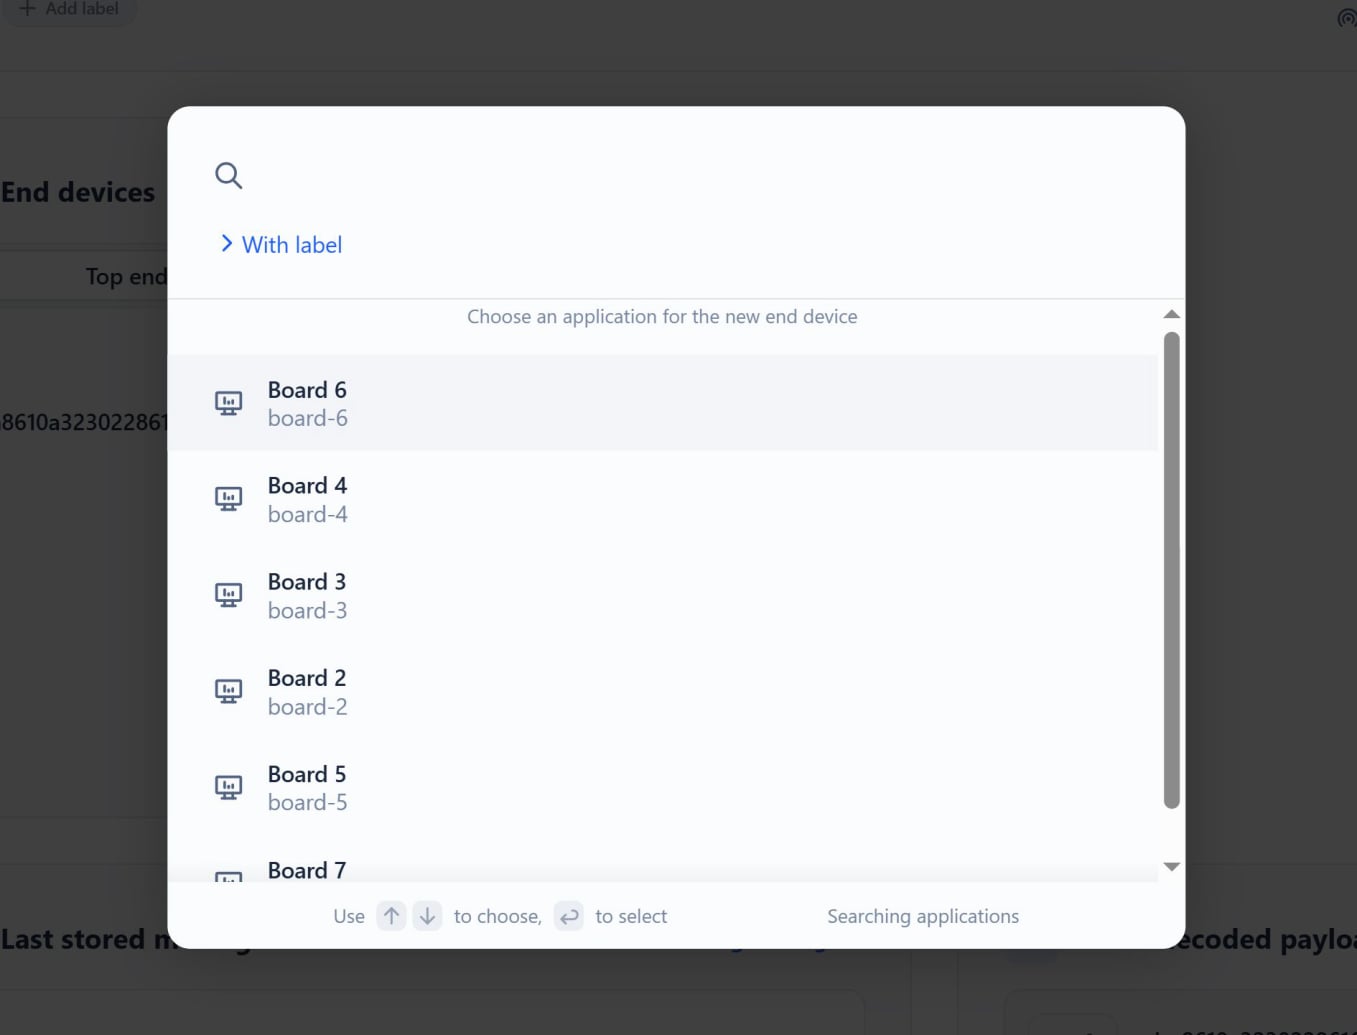
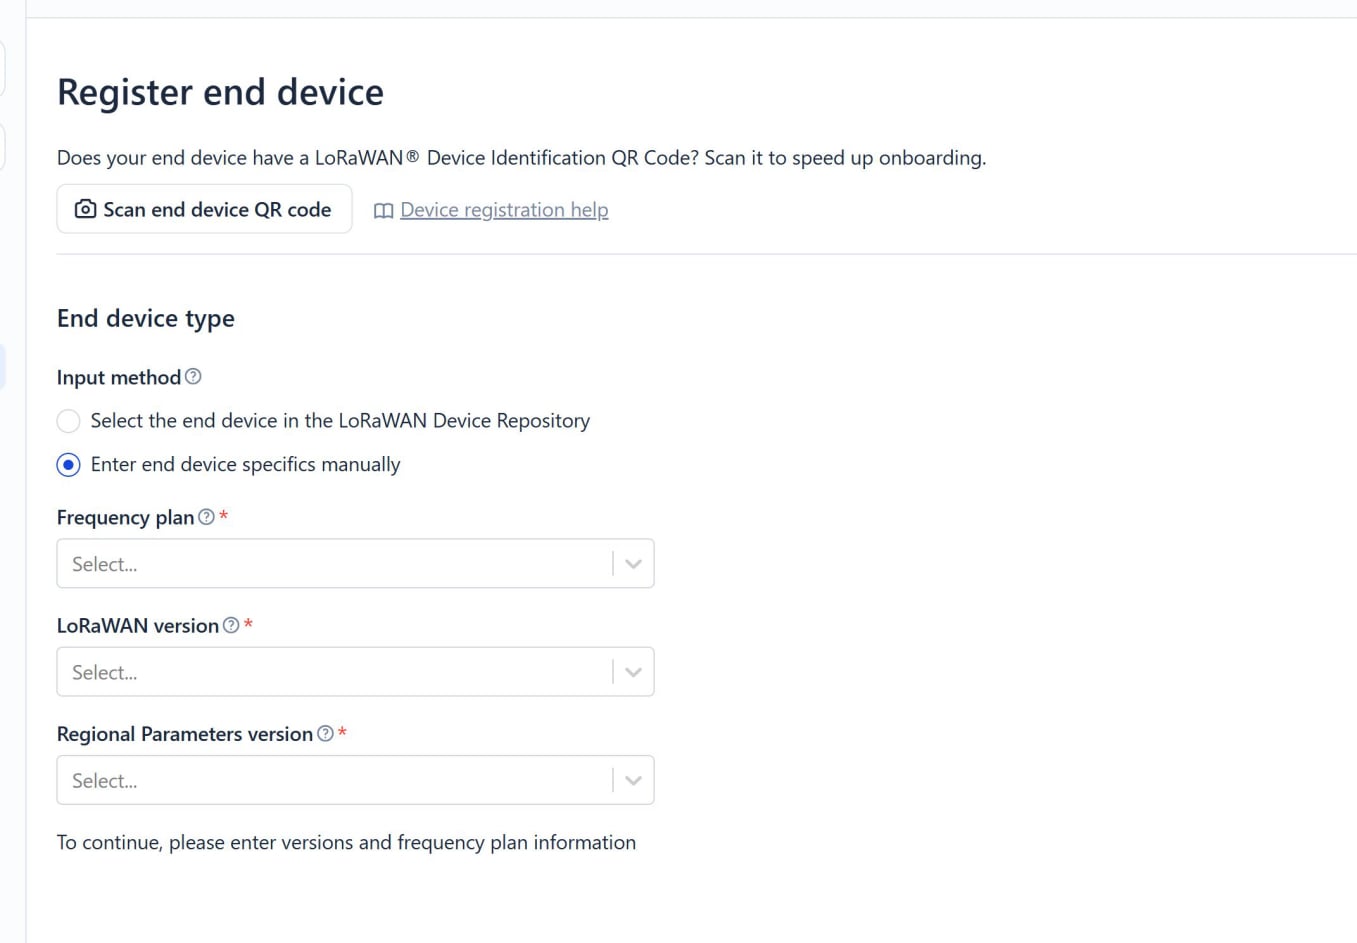
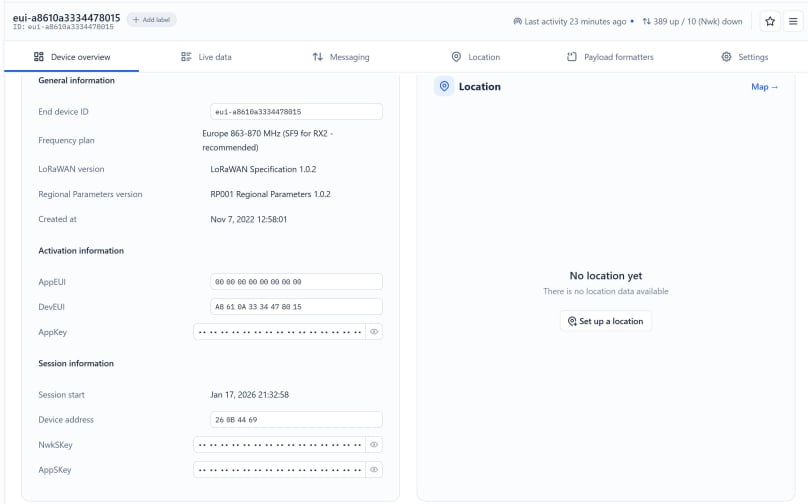
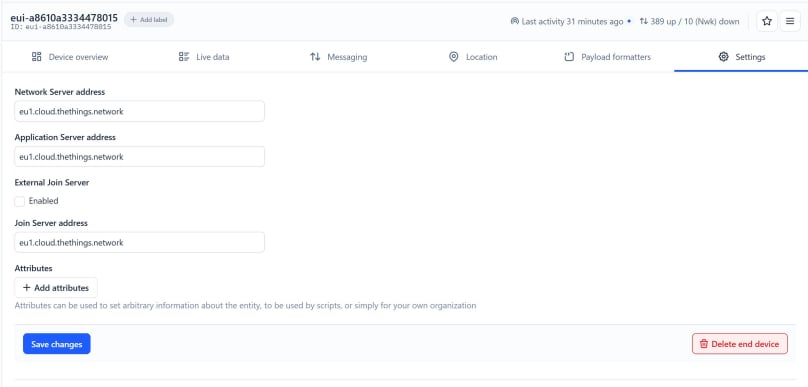
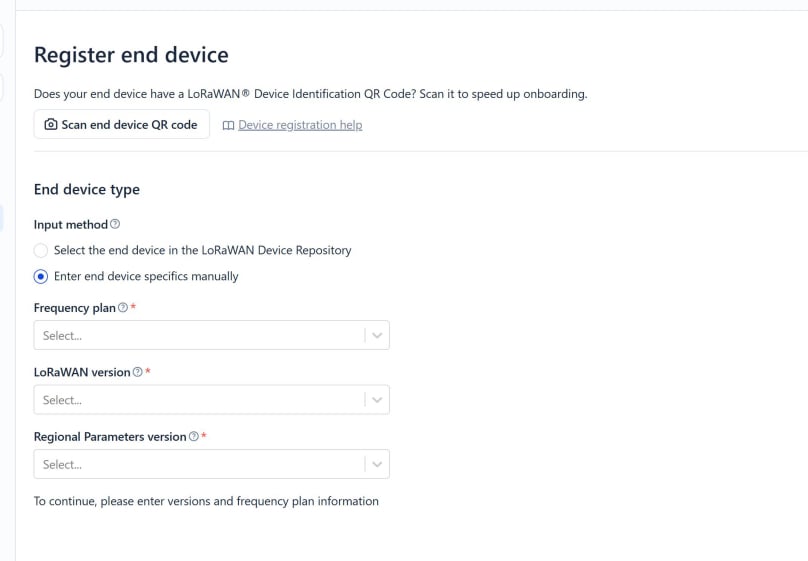
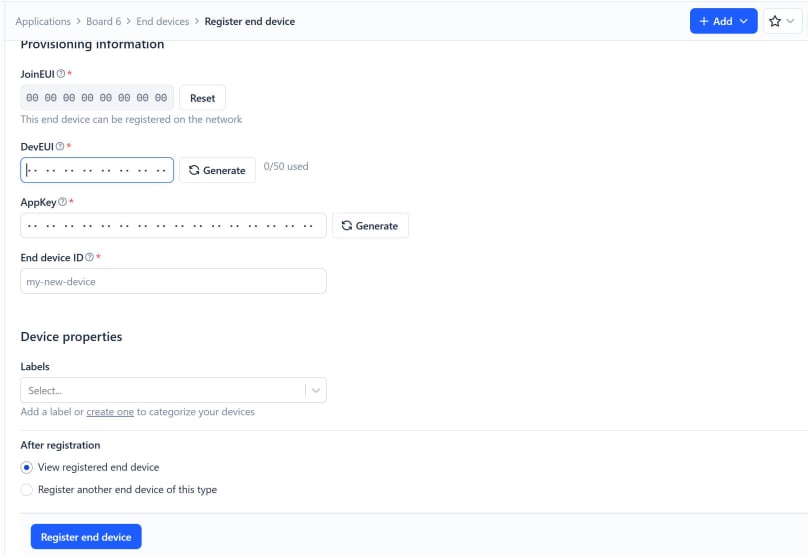
First, log in to TTN and open the device you want to move. Copy all of its configuration details into a text editor, then delete the original device from its current application. Once that’s done, go to the MQTT‑connected application and create a new end device, pasting in the configuration you saved earlier.
This is the information you need to copy:
I have copied the following information from Board 4:
End device ID, Frequency plan (Europe 863-870 MHz (SF9 for RX2 - recommended), LoRaWAN version (LoRaWAN Specification 1.0.2),
Regional Parameters version (RP001 Regional Parameters 1.0.2), AppEUI (also called JoinEUI ): 0000000000000000, DevEUI and the AppKey.
If you mouse over the hidden values, you can copy by clicking the 'Copy' icon that appears. Paste this information where you can find it again.
Now select ‘Enter end device specifics manually’. Copy in the details that we saved before we deleted your end device. Continue to add your end device details until you reach the foot of the form and can see the blue ‘Register end device’ button. In the End Device ID you can enter a name that helps you identify that device. Only use lower case letters and no spaces. I called mine ‘board-4-new’.
With the update complete, we can now proceed to connect your MKR WAN to the internet using the LoRaWAN network. Click here for the next steps.